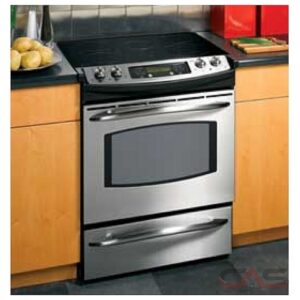
Our good friend Snoopy learned the hard way what happens to a glass cooktop when you accidentally drop a heavy object on it. The point of impact was a direct hit in the center of the front right double burner. To add to her anguish, the dishwasher started leaking that month and the refrigerator also gave up the ghost.
After surveying the damage and doing some quick Google and YouTube research, we decided that the repair was well within our DIY capability. Replacing the stove would be another $2,600 and this year’s budget couldn’t take another hit.
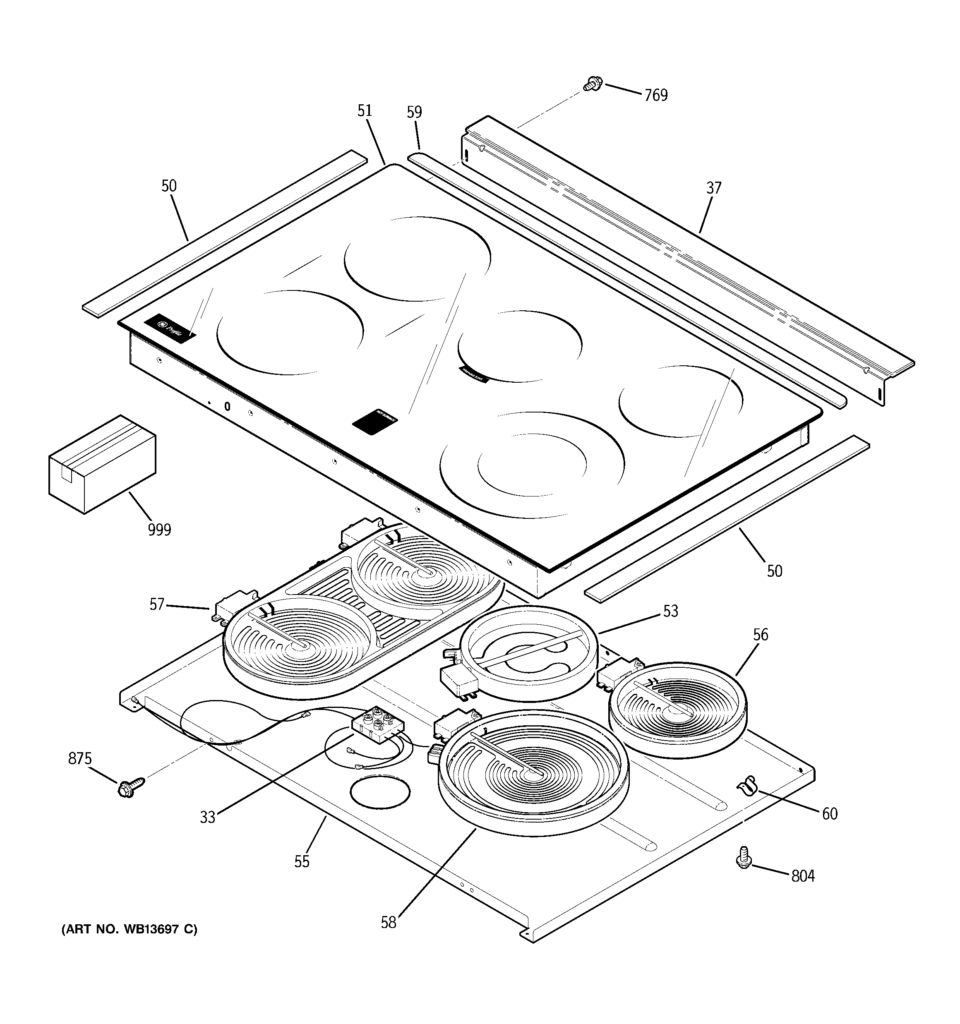
A replacement cooktop is available for the GE Profile model JCS905K3SS stove as item 51 in the diagram to the right.
Snoopy ordered the replacement glass cooktop assembly from PartsSelect.ca for about $700. The special ordered part arrived in less than two weeks. I have been very satisfied with this service from this supplier in the past, and this was no different.
While the diagram is here, check out part #33 between the two front burners. The hot burner warning lights will feature prominently in the only frustration we had during the replacement.
The entire process took just under 90 minutes, including some just in time research. The steps are:
- Unpack the new part and verify it matches the existing cooktop.
- Shut off power to the stove at the fuse panel.
- Disassemble the front control panel and move it out of the way so we can get at the cooktop mounting fasteners. There was no need to disconnect the front panel wiring.
- Disconnect the two cooktop wiring connects and carefully remove the old cooktop.
- Transfer the burners and wiring components to the new cooktop.
- Install the replacement cooktop and reconnect the burner wiring.
- Reassemble the front panel.